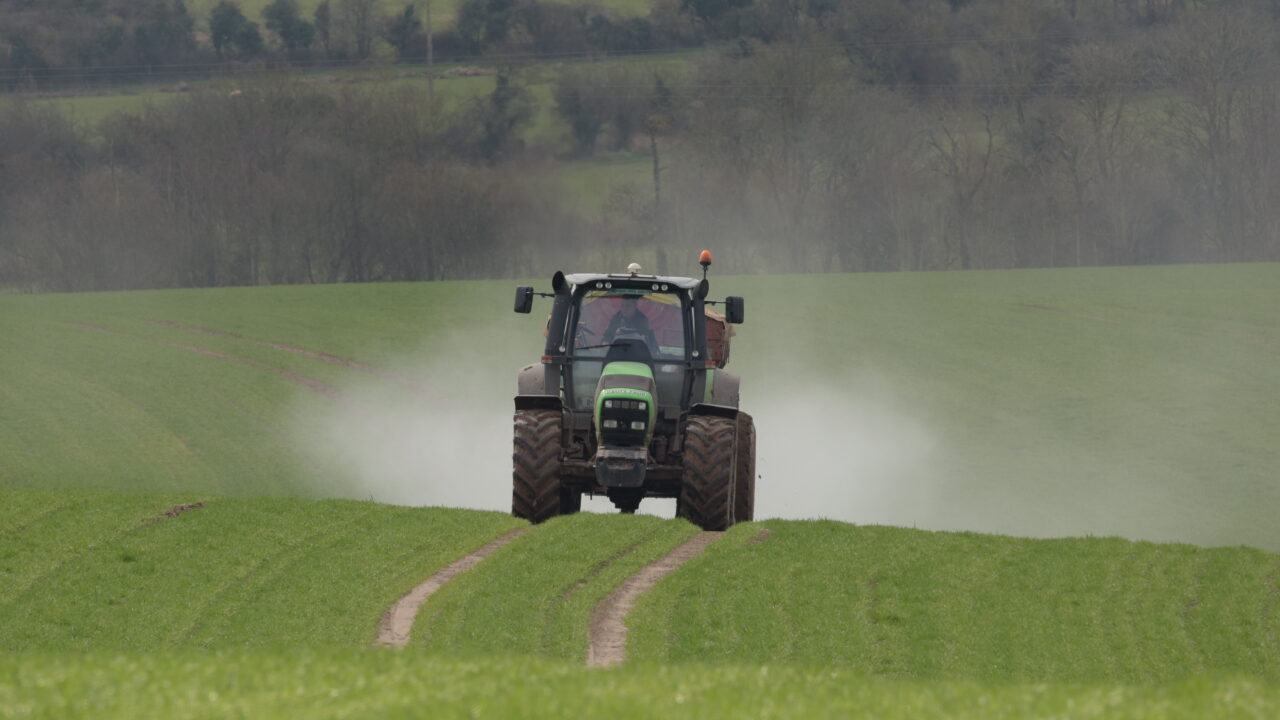
Fertiliser spread patterns should be checked on a regular basis.
Farmers all over the country are spreading fertiliser on grassland and tillage crops at present. They should ensure that it is being applied correctly and evenly to the crop and that the money being spent is being put to best use.
Operators should check their handbooks on how best to test the pattern, as spreaders have different methods of dispensing fertiliser.
Many people will use the traditional approach – of putting out trays at appropriate points.
A set of trays (examples of which are shown below) is inexpensive and can give a good indication of your spread pattern. Inserts should be fitted inside the trays, so that granules of fertiliser don’t bounce back out.
If trays are placed every 2m between bouts and fertiliser is spread on each tramline covered by the trays then the same amount of fertiliser should land in each tray.
Each tray should be emptied into its own test tube and placed beside each other in the same order as they were in the field (as can be seen below). The same amount of fertiliser should be visible in each test tube (unlike the example shown below).
Your spread pattern can be affected by many different factors.
- Was the spreader level?
- Are the spreading veins damaged? Are there cracks or is there rippling?
- Was your spreader 75cm above the crop?
- Was your PTO running at the right speed?
- Was the weather appropriate? Was there strong wind?
Check the pattern with your phone in 5 minutes
This video (below) shows a more modern way of checking your spread pattern, but the principles remain the same.
AgriLand shot this short video with Farmhand’s Declan Smyth last June. It shows how a spread pattern (on a modern Amazone fertiliser spreader) can be checked by placing 16 mats across 12m of the machine’s 24m spread-width.
It shows how a spread pattern (on a modern Amazone fertiliser spreader) can be checked by placing 16 mats across 12m of the machine’s 24m spread-width.


