Be prepared for calving - key advice
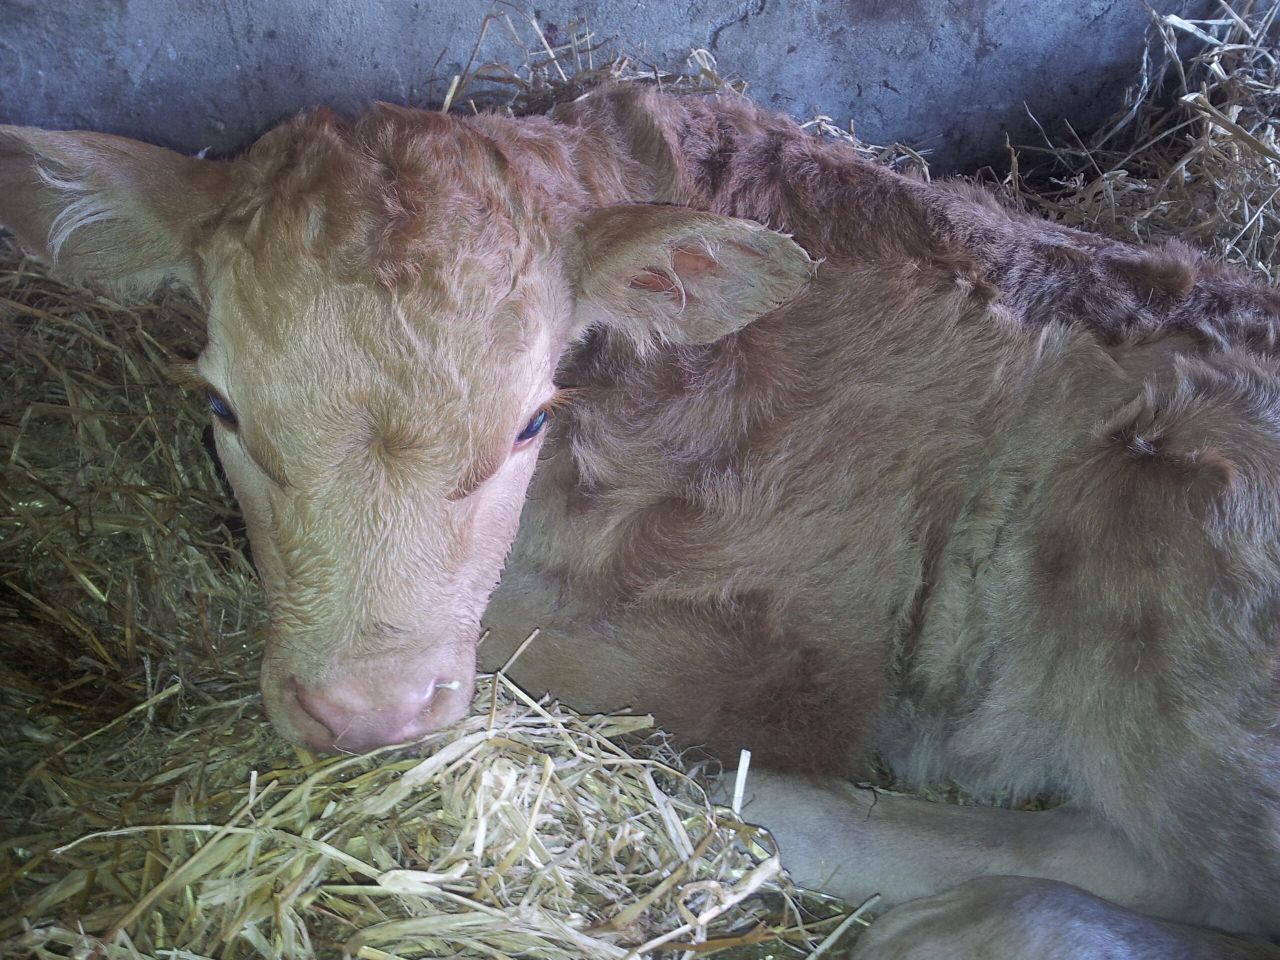
With the calving season looming, preparation, organisation, planning and good stockmanship are all key management skills needed in the busy weeks ahead.
Being prepared and organised will reduce calf mortality, save labour and cut down on stress on both man and animals.
Facilities It is recommended that there be one calving box per 10 cows. This is where the cow and calf only remain in the box for one-to-two days.
If there is a tight calving spread you will need more boxes. The boxes should be at least 3.6m x 4.0m in area.
However, temporary pens can be erected at 3.6m x 3.6m where a cow and calf have to be kept on their own for a few days. Make sure that separating bars and gates of pens are safely secured.
Boxes should be thoroughly clean, power washed and disinfected with a strong disinfectant before use. Have plenty of straw in store before calving starts.
Check the availability of basic calving equipment. Things like long armed disposable gloves for handling cows, clean soft calving ropes, iodine or chlorohexidine solution to treat navels, a clean calving jack that is not worn or liable to slip, lubricant, electrolyte powders for scour treatment and a clean stomach tube plus plastic buckets with a teat.
Having a few litres of frozen colostrum in the freezer is a good insurance policy for that weak calf or one that is slow to get to its feet.
Some 3-4L of colostrum in the first hour of life is crucial for any calf.
If there are calving cameras present in your suckler unit, inspect cameras to ensure they are working. Clean lenses, inspect wiring, view screen and picture focus. Can the cameras be connected to your mobile phone? Use modern technology to make life easier at calving time.
Calving area needs to be well lit up. Inspect all lighting in the area. Clean covers and replace tubes on fluorescent lights, clean glass and replace bulbs on halogen lamps and floodlights where necessary.
Have specialised tissue tags and applicator available for BVD testing. Arrange with an approved veterinary laboratory to test tissue samples and return results.
Organising Calving If possible, move cows due to calve into slatted pens or loose housing closest to the calving boxes at least 14 days in advance of predicted calving date.
Cows/heifers can be selected on the basis of breeding/AI/scanning records but most importantly, the farmer’s own experience, knowledge and visual assessment of the cows. With a stock bull, 280 days after the date the bull was put with the cows, will signal the beginning of closer observation.
Ideally, cows should be moved to the calving box a day or two before they are due to calve to allow them settle in the new surroundings. If you don’t want to be moving or mixing cows close to calving, then consider doing out a sheet or put up a white board in the shed highlighting cows to be closely watched.
Plan for easy movement of cows between slatted pens/loose housing and calving boxes. Set up temporary gates or tubular barriers to direct stock movement between locations.
Other Considerations
- There will always be some difficult calvings so, good observation and supervision is necessary in order to avoid losses.
- Silage feeding in late evening helps to reduce the number of night calvings.
- Exercising cows and heifers prior to calving will help reduce calving difficulty.
- Remember cows can become aggressive before and after calving so remain vigilant when in a pen or handling cows around calving. Make sure cows are safely secured if assistance is required.
By Anthony O’Connor, Teagasc Adviser, Galway/Clare regional Unit.