“50% of all clinical mastitis cases, in the first 100 days of the next lactation, can be linked back to the drying-off procedure.” This is according to Teagasc’s Padraig O’ Connor – who spoke during one of the Animal Health Ireland (AHI) / Teagasc CellCheck events last month.
Hence, this is why it is critical for farmers to have a strict drying-off protocol in place, to avoid any unnecessary mastitis infections during or after the dry period.
To do this, Padraig explained: “The drying-off protocol must be like a surgical procedure; particularly, if you go down the selective dry cow therapy (SDCT) route.”
Before doing anything, Padraig also emphasised the importance of having a full stomach, sufficient labour/help and adequate time. Having enough light in the parlour is also important.
Procedure
“Preparation and cleanliness is key to the drying-off procedure,” highlighted Padraig.
He also advised farmers not to dry off too many cows in the one day and present a clean cow for drying off.
“Their tails must be clipped before drying off or, in some cases, farmers flame the others to remove any hair,” he said.
Where SDCT is not being used, he stated: “A culture test and a sensitivity test should be completed to determine what bacteria is causing the mastitis and what antibiotic is most suitable against that bacteria.”
Furthermore, Padraig recommended that farmers have everything they need before they start, while advising farmers to complete the drying-off procedure separate to the milking process.
“It must not be done at the same time as the milking. It should be done after the milking,” he said.
- Wear milking apron / parlour suit and nitrile disposable gloves;
- Identify the cow and clearly mark her with an ankle strap, tail tape or marker;
- Milk out the cow completely;
- Ensure that the teats are completely clean and dry;
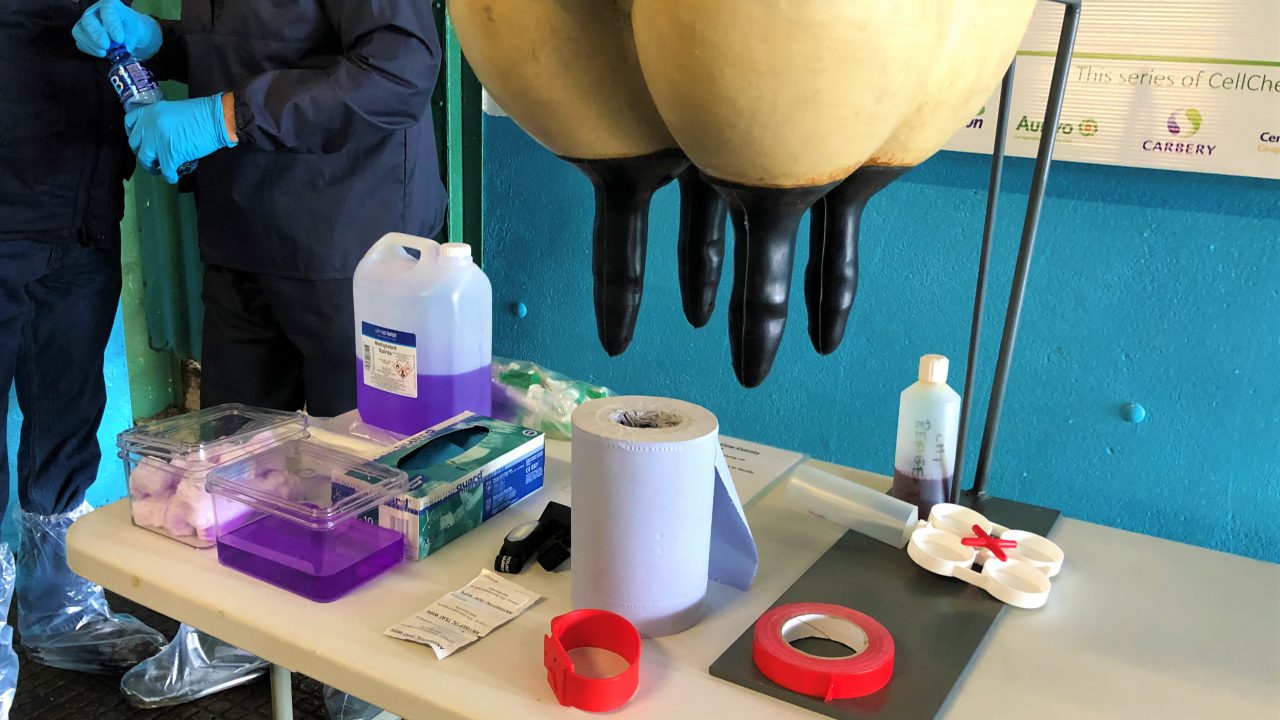
- Disinfect the teat ends thoroughly with cotton wool and methylated/surgical spirits by vigorously rubbing the teat end opening for a minimum of 10 seconds – this step is critical;
- Disinfect the teats furthest away, followed by teats nearest to you to prevent re-contamination;
- Check the teat wipe – if there is a dirty colour, repeat the scrub using a new cotton ball until it is clean;
- Treat the teat ends nearest you first, followed by the more distant teats to prevent re-contaminating the teats;
- Keep the nozzle of the tube sterile to prevent introducing new infections into the teats and udder;
- Insert the tip of the nozzle into the teat opening and squeeze the contents gently into the quarter – it is not necessary or recommended to insert the tube nozzle to its full depth, as this may damage the teat end;
- When the tube is emptied into the teat, massage the antibiotic up into the quarter;
- Thoroughly spray or dip the teats with teat disinfectant after treatment;
- Record the antibiotic used;
- Make note of the cow number, date, product used and withholding period;
- Leave cow to stand for approximately two hours to allow teat canals to close.
Where a teat sealer is being used with an antibiotic or by itself, Padraig said to follow the same protocol as above except the teat sealer is not massaged into the quarter.
Before squeezing the contents of the tube of sealer into the teat, use your free hand to close off the base of the teat where it joins the udder.
Post drying off
The post drying-off procedure is also critical to the drying-off process.
Running through the post drying-off procedure, Padraig said: “The cows should be left to stand for approximately two hours to allow sufficient time for the teat canal to close.
“The cow should then be moved to a clean environment and kept away from the milking machine to avoid the stimulus to let down milk.”